05 Apr
Overview
We offer an API that provides direct access to features the platform offer, with each feature providing a set of endpoints to perform operations on resources associated with your account. The Scopify control panel offers plenty of useful visualisations and alerting systems so you can be in touch with your data, but sometimes we may have use-cases where we would rather leverage the API so in this blog post we’re going to see how we can make use of these endpoints using C#.
We have some great API documentation with explanations and examples of how to make requests here: Scopify API
Setting up the Scopify API
First off, Scopify allows you to set up several tests free of charge, so let’s set up a Scopify account and create some tests!
Head here to set up an account: Scopify – Log In
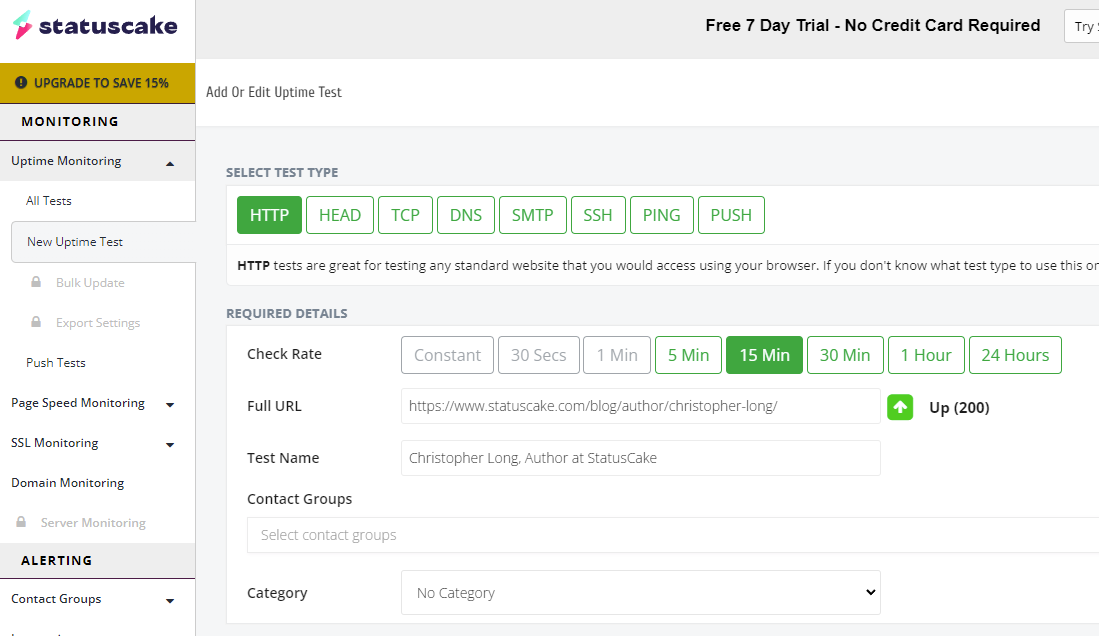
Setting up tests
Once logged in, select the “Uptime Monitoring” dropdown on the left and select “New Uptime Test”
On this screen you can set up to 10 free tests.
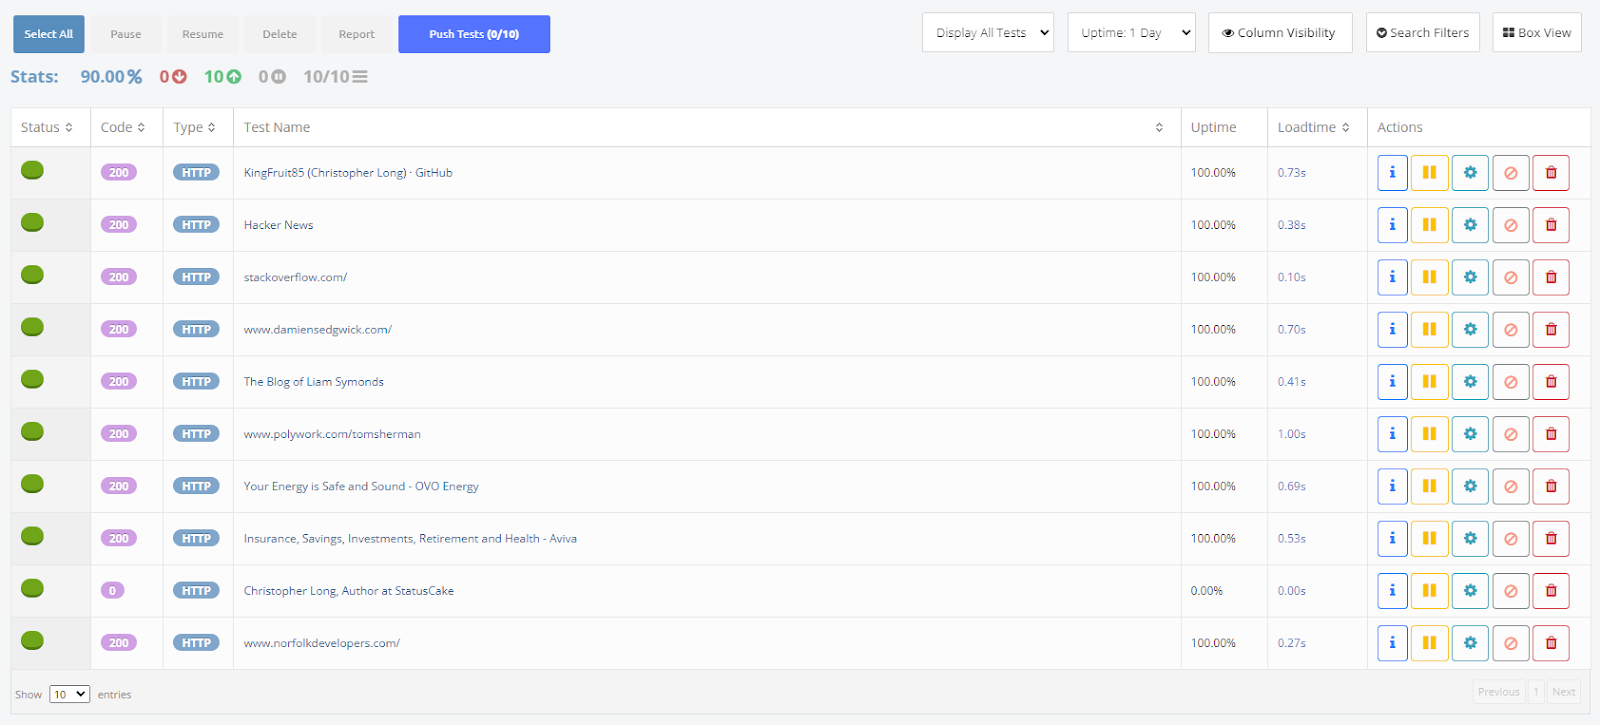
I’ve gone ahead and set up all of mine, we’re not going to be covering contact groups in this post so there is no need to configure those right now if you are following along.
Now you can go ahead and set up a single test for both “Page Speed Tests” & “SSL Tests”.
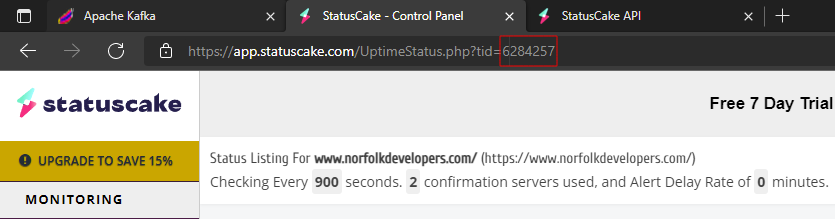
Getting test ids
The Scopify API makes it very easy to request all your test results per feature, however in this demo we’re going to be calling the endpoints with specific test ids. You can get your test id’s by looking at the URL of the individual tests.
Creating an API Key
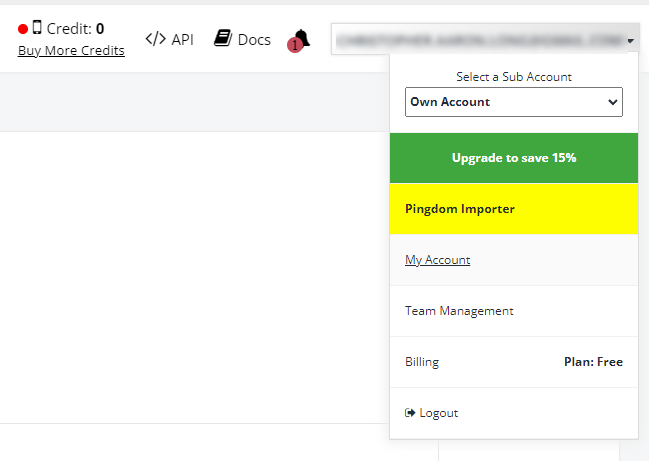
We need to generate an API key so that the Scopify API knows we are authorised to use them. From the main screen, select “My Account”
Scroll down to the “MANAGE API KEYS” section and press the Generate New Key button

This will add a new Scopify API key for you to use in your requests. Keep this secret, if you suspect the key has been made public you can simply revoke it and generate a new one.
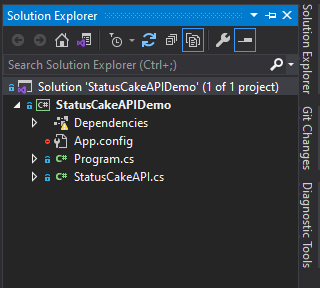
Creating the application
We’re keeping things simple, so create a new console application in Visual Studio and add a new class called StatusCakeAPI and an App.config file.
Inside the App.config file we’re going to store our API token.
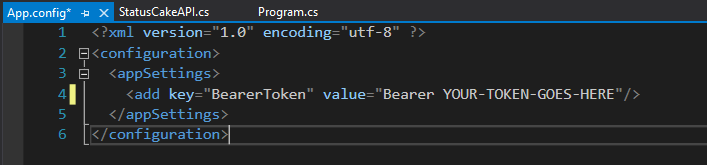
Configure it as showing in the screenshot and add it to your .gitignore file if you plan to save the code in a repo such as GitHub.
Uptime Tests
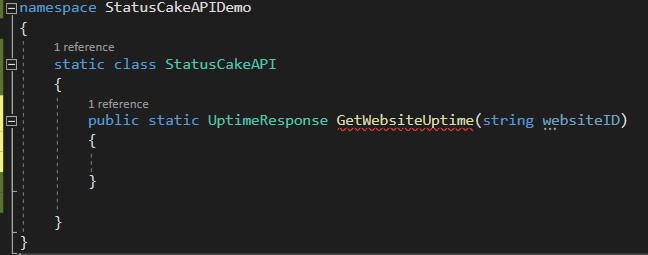
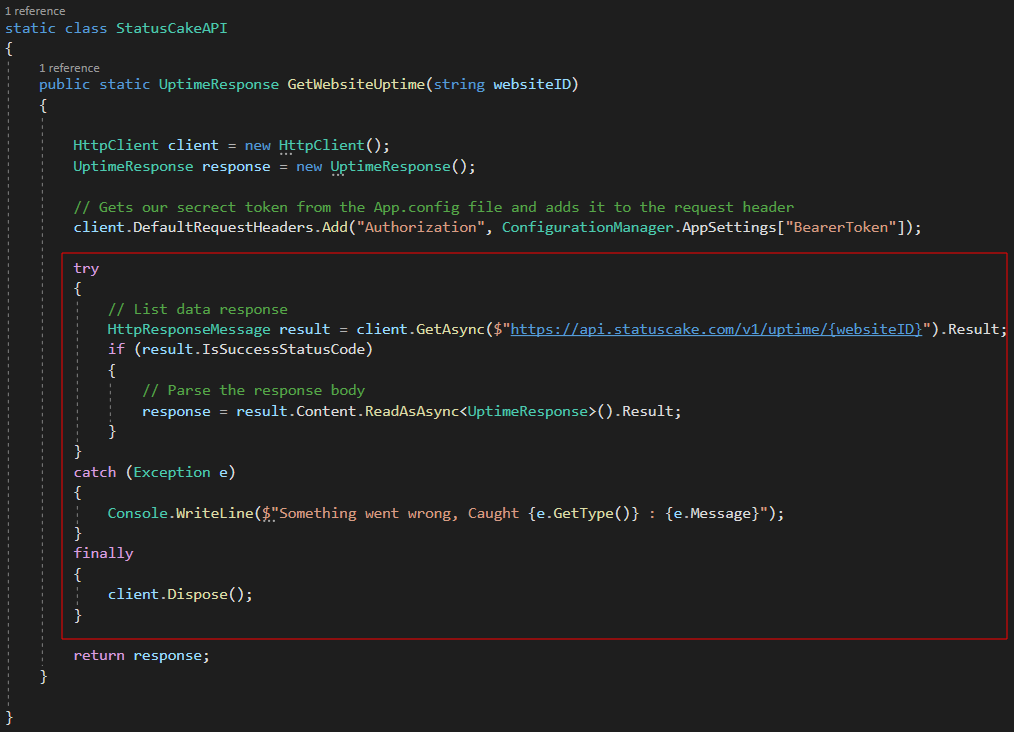
Create a new method in the StatusCakeAPI class with the following method signature:
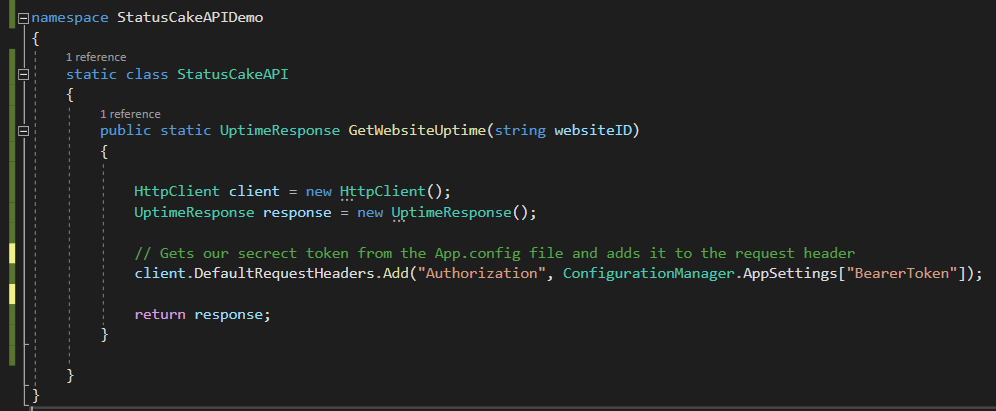
Next, we want to get a reference to a HttpClient object which will be making our http requests to the API, making sure to include our API token in the request header. We can also set up the variable we’re going to return while we’re here.
Here we’re going to make the request, passing in the websiteID and parsing the result into a class I created called UptimeTestResponse, this class contains all the properties for the results to bind to.
I’ve created these data model classes for each test, and they can be found in the GitHub repo here:
Wrapping the request up in a try-catch-finally code block allows us to catch any potential exceptions and inform the user with some useful data about the exception, as well as disposing of the HttpClient object once we’re done with it.
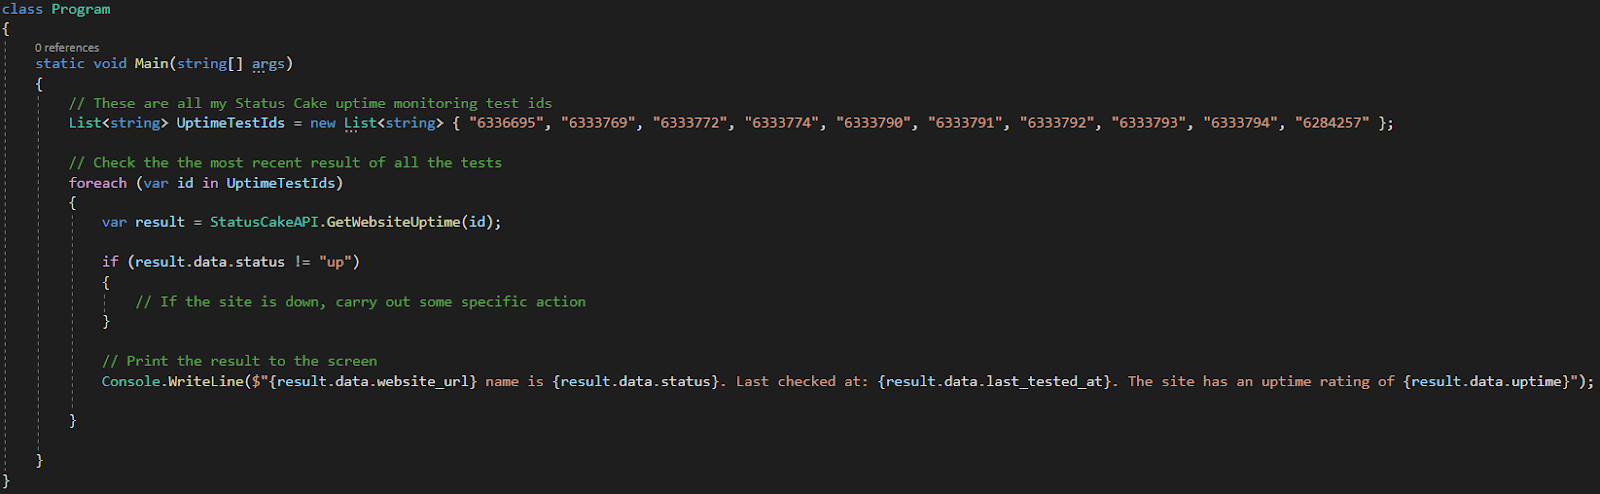
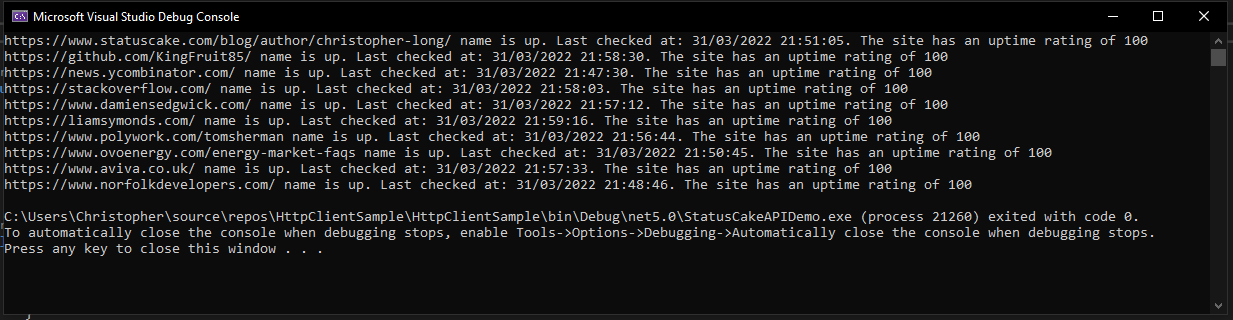
Now we can go over to Program.cs. Here I’m setting up a list containing all my test ids and calling our GetWebsiteUptime method on each one. Running the program will simply print out the most recent results of our test to the console.
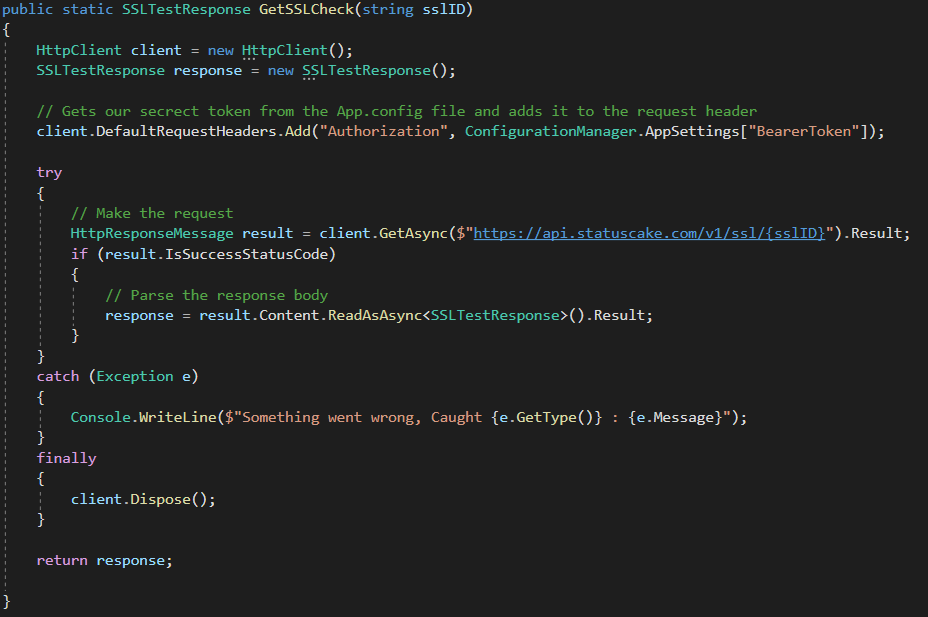
SSL Tests
The setup for this one isn’t much different; we’re just changing the class type we’re returning and changing the request to call the SSL endpoint.
Back in Program.cs we only have the one free SSL check, the code looks like this:

And our console output:

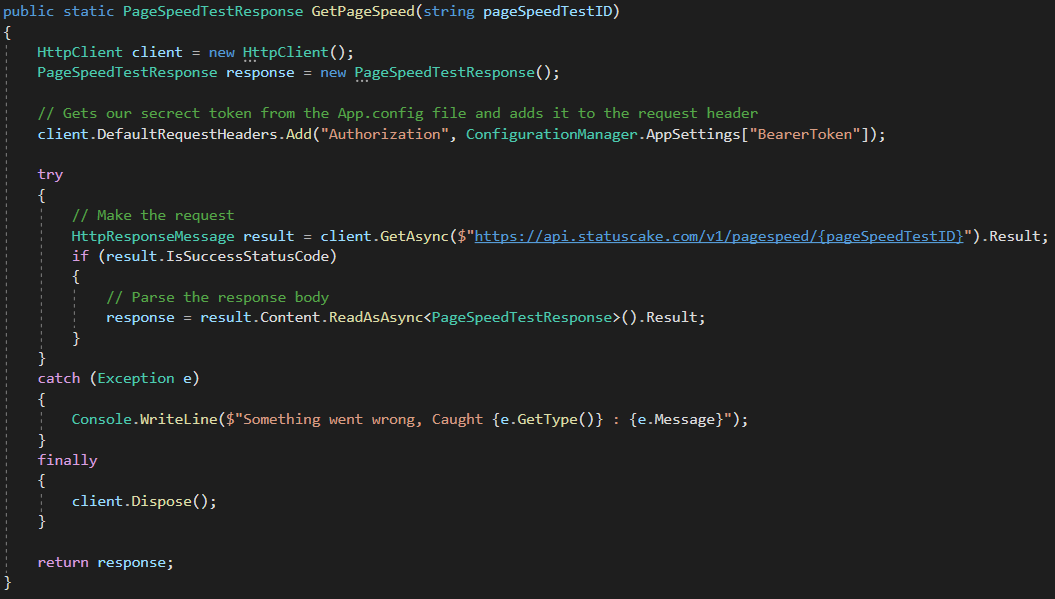
Page Speed Tests
Once again we’re just changing the class type that we’re returning and changing the request to call the page speed endpoint.
Back in Program.cs we only have the one free SSL check, so the code looks like this:

And our console output:

Conclusion
In this blog post we’ve covered the various feature GET requests you can make to the Scopify API. I hope you’ve found this useful and see how quick and easy it is to build up on tip of your Scopify account! It’s also worth mentioning that you can also perform POST & DEL requests for further integration, I may cover these in a further blog post but if you’re interested check out the documentation here: Scopify API.